Instant Pot Black Eyed Peas (No Soak Method)
Instant Pot black eyed peas cook fast with no soaking. You only need dried peas and water or broth. This guide helps you get firm, tender, or brothy results.
Instant Pot Black Eyed Peas (No Soak)
You can cook dried black eyed peas in the Instant Pot without soaking. Add beans plus water or broth, then pressure cook on high. Use a short natural release, then vent and season.
What you need for the base method
You need dried black eyed peas and watery liquid like water or broth. You also need salt and pepper for serving. You can keep it plain or add flavour later.
Quick result choice
Choose firm peas for salads and bowls. Choose tender peas for a side dish. Choose brothy peas for a Southern style bowl.
What people mean by Instant Pot black eyed peas
Most people want fast beans that taste good and feel right. Some want a simple pot of beans for meal prep. Others want a Southern bowl for New Year’s Day.
Base method vs Southern style bowl
The base method gives clean bean flavor and easy planning. The Southern style bowl adds onion, garlic, and smoky meat. It also makes a richer pot liquor for serving.
Firm, tender, or creamy
Firm peas hold shape and stay neat. Tender peas work best as a classic side. Creamy peas feel soft and rich, like a stew base.
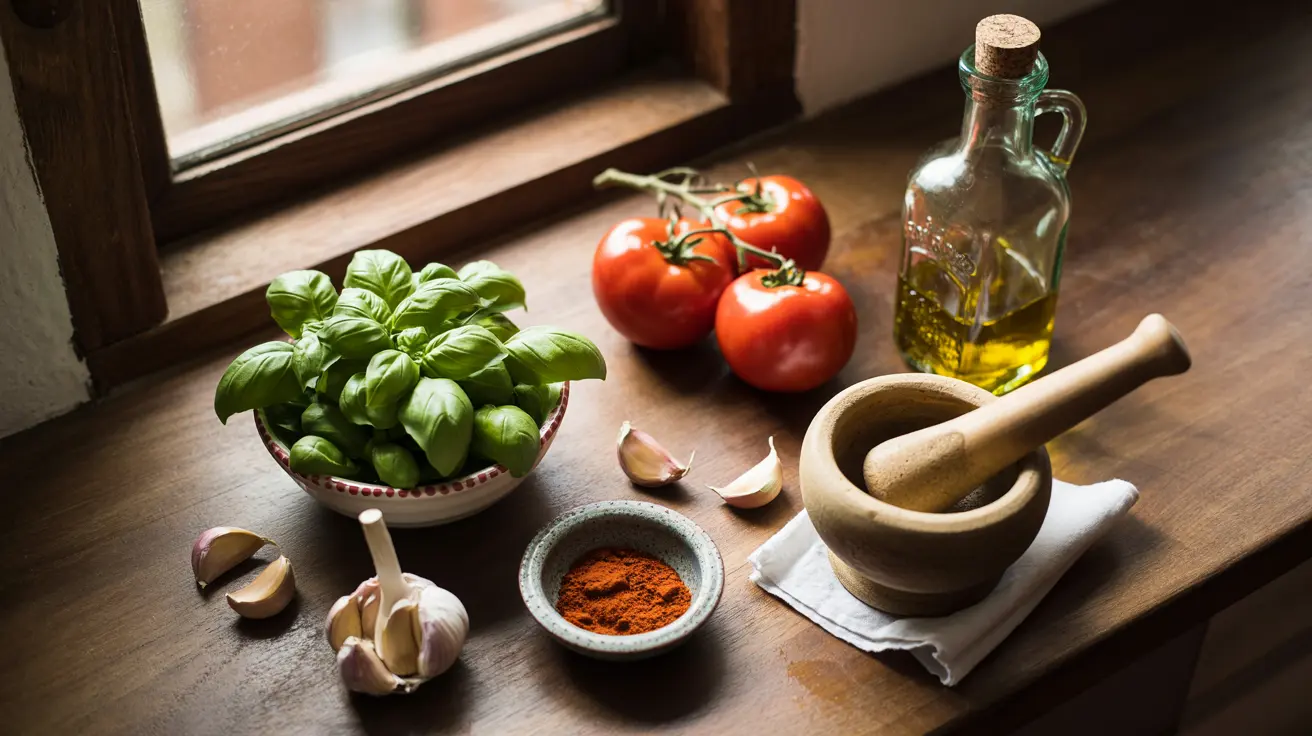
Ingredients and substitutions
The base recipe only needs beans and liquid. Broth adds flavor without extra work. Add ins can turn it into a full meal.
Dried black eyed peas
Pick through the peas first. Look for tiny stones or broken bits. Rinse well until the water runs clearer.
Water vs broth
Water keeps the taste simple. Broth adds a savory note. If you use broth, taste before adding extra salt.
Optional add ins for more flavor
Onion and garlic build a warm base. A bay leaf adds a mild herbal taste. Bacon, ham, or smoked turkey add a smoky bite.
Liquid and time chart
The right liquid depends on your goal. More liquid gives a brothy bowl. Less liquid gives drained peas, but you still need enough thin liquid to pressurize.
Minimum liquid note by pot size
A 6 quart pot often needs about 1 and 1 half cups of thin liquid. An 8 quart pot often needs about 2 cups of thin liquid. A 3 quart pot often needs about 1 cup of thin liquid.
Ratios that work
Use a higher liquid ratio for a brothy bowl. Use a lower ratio for peas you plan to drain. If you are unsure, start with more liquid and drain later.
Cook time table for dried peas
Use these times as a strong starting point. Old beans can need more time. Hard water can also slow softening.
| Goal | Dried peas | Thin liquid | Pressure cook | Natural release |
|---|---|---|---|---|
| Firm, for salads | 1 cup | 2 and 1 half cups | 10 minutes | 10 minutes |
| Tender, for sides | 1 cup | 3 cups | 12 minutes | 15 minutes |
| Soft and brothy | 1 cup | 3 and 1 half cups | 15 minutes | 15 minutes |
Cook time table for a full pound
This is the most common batch size. It works well for meal prep and leftovers.
| Goal | Dried peas | Thin liquid | Pressure cook | Natural release |
|---|---|---|---|---|
| Firm, for salads | 1 pound | 6 cups | 12 minutes | 10 minutes |
| Tender, for sides | 1 pound | 7 cups | 14 minutes | 15 minutes |
| Soft and brothy | 1 pound | 8 cups | 16 minutes | 15 minutes |
Natural release vs quick release
Natural release helps beans finish cooking gently. It also reduces foaming in the valve. Quick release can make beans split and turn cloudy.
Step by step no soak base method
This method is simple and repeatable. You can season after cooking. You can also use the beans in many meals.
Ingredients
Dried black eyed peas, 1 pound. Water or broth, 7 cups for tender peas. Salt and black pepper to taste.
Instructions
Sort the peas and remove any stones. Rinse the peas under cool water, then drain. Add peas and liquid to the Instant Pot and stir once. Lock the lid and set the valve to Sealing. Pressure cook on High for 14 minutes for tender peas. Let pressure release naturally for 15 minutes. Vent the rest, then open the lid. Taste and add salt and pepper as needed.
Total time note
The pot needs time to come to pressure. That can take about 10 to 15 minutes. Total time is often closer to 45 to 60 minutes.
Southern style black eyed peas optional upgrade
Southern style peas taste smoky and rich. You build flavor first, then pressure cook. Finish with greens or a splash of acid at the end.
Ingredients for a Southern pot
Onion, chopped. Garlic, minced. Bacon or smoked turkey, optional. Broth, black eyed peas, bay leaf, and pepper. Collard greens, optional, added near the end.
Steps
Use Sauté and cook bacon if using, then remove excess fat. Add onion and cook until soft. Add garlic and stir for 20 seconds. Add peas, broth, bay leaf, and meat if using. Pressure cook on High for 16 minutes, then natural release for 15 minutes. Stir in chopped greens, then rest 5 minutes to soften. Taste, then salt and season.
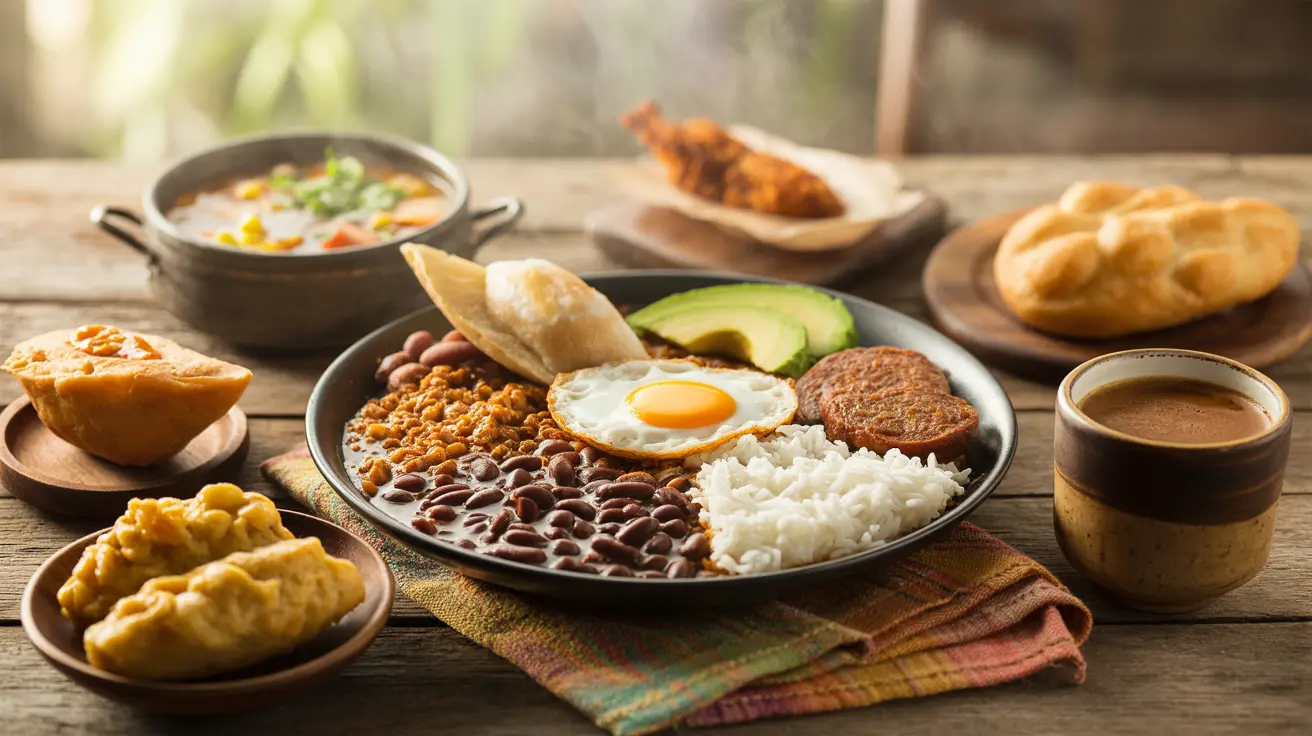
Hoppin John serving idea
Serve peas over rice. Add greens on the side. Finish with hot sauce if you like heat.
Common mistakes and quick fixes
Most problems have easy fixes. A small change can save the whole pot. Use these checks before you give up.
Burn warning or not coming to pressure
You may not have enough thin liquid. Thick sauces can trigger burn. Add more water or broth and scrape the bottom well.
Beans still hard after cooking
Beans can be old and dry. Hard water can slow softening too. Add 1 half cup water, then cook 3 more minutes and use 10 minutes natural release.
Too firm or too soft
If they are too firm, add 2 minutes next time. If they are too soft, cut time by 2 minutes. Also shorten the natural release for firmer peas.
When to add salt and acid
Salt is easiest to control after cooking. Acid can slow softening if added early. Add vinegar or lemon at the end.
Storage, freezing, and reheating
Cooked peas store well. Keep some cooking liquid with them. It helps them stay moist.
Fridge storage
Cool peas fast and store in a sealed container. Keep them in the fridge for up to 4 days. Reheat only what you plan to eat.
Freezer storage
Freeze in small portions with a little liquid. Label the date on the container. For best taste, use within 3 months.
Reheating
Warm peas on the stove over low heat. Add a splash of water or broth if they look dry. Stir once in a while until hot.
FAQs
These answers match what people search most. Use them to pick the best method. They also help you fix issues fast.
Do I need to soak black eyed peas?
No, soaking is optional. The Instant Pot cooks them well without soaking. Soaking can help if your peas are very old.
How long do unsoaked black eyed peas take in the Instant Pot?
Most batches need 10 to 16 minutes at High pressure. Use a 10 to 15 minute natural release. Total time is longer because of preheat.
How much water or broth per cup?
For tender peas, start near 3 cups per 1 cup dried. For firm peas, you can use 2 and 1 half cups and drain later. For a brothy bowl, use 3 and 1 half cups.
Natural release or quick release for beans?
Natural release is best for beans. It finishes cooking without breaking skins. Quick release is fine if you want firmer peas, but vent slowly.
Can I use canned black eyed peas in the Instant Pot?
Yes, but you do not need pressure cooking. Warm them on Sauté with broth and seasonings. Pressure cooking can make them mushy.
Why are my beans still hard?
They may be old or stored too long. Your water may be hard. Add more liquid and cook a few minutes longer.
What to serve with black eyed peas
Black eyed peas work as a side or a meal. They pair well with simple starch and greens. They also fit into bowls and soups.
Classic plate
Serve with rice and collard greens. Add cornbread if you want a full Southern meal. A little hot sauce works well too.
Weeknight bowls
Use peas in a grain bowl with roasted vegetables. Add sausage or shredded chicken if you want more protein. Finish with herbs and a squeeze of lemon.
Meal prep uses
Add firm peas to salads. Stir tender peas into soups. Mash soft peas for dips or patties.
Conclusion
Instant Pot black eyed peas are quick and easy. You can skip soaking and still get great texture. Use the chart to pick firm, tender, or brothy peas. If beans stay hard, add liquid and a few more minutes. Store leftovers with a little liquid for best results.